Quick Start Guide
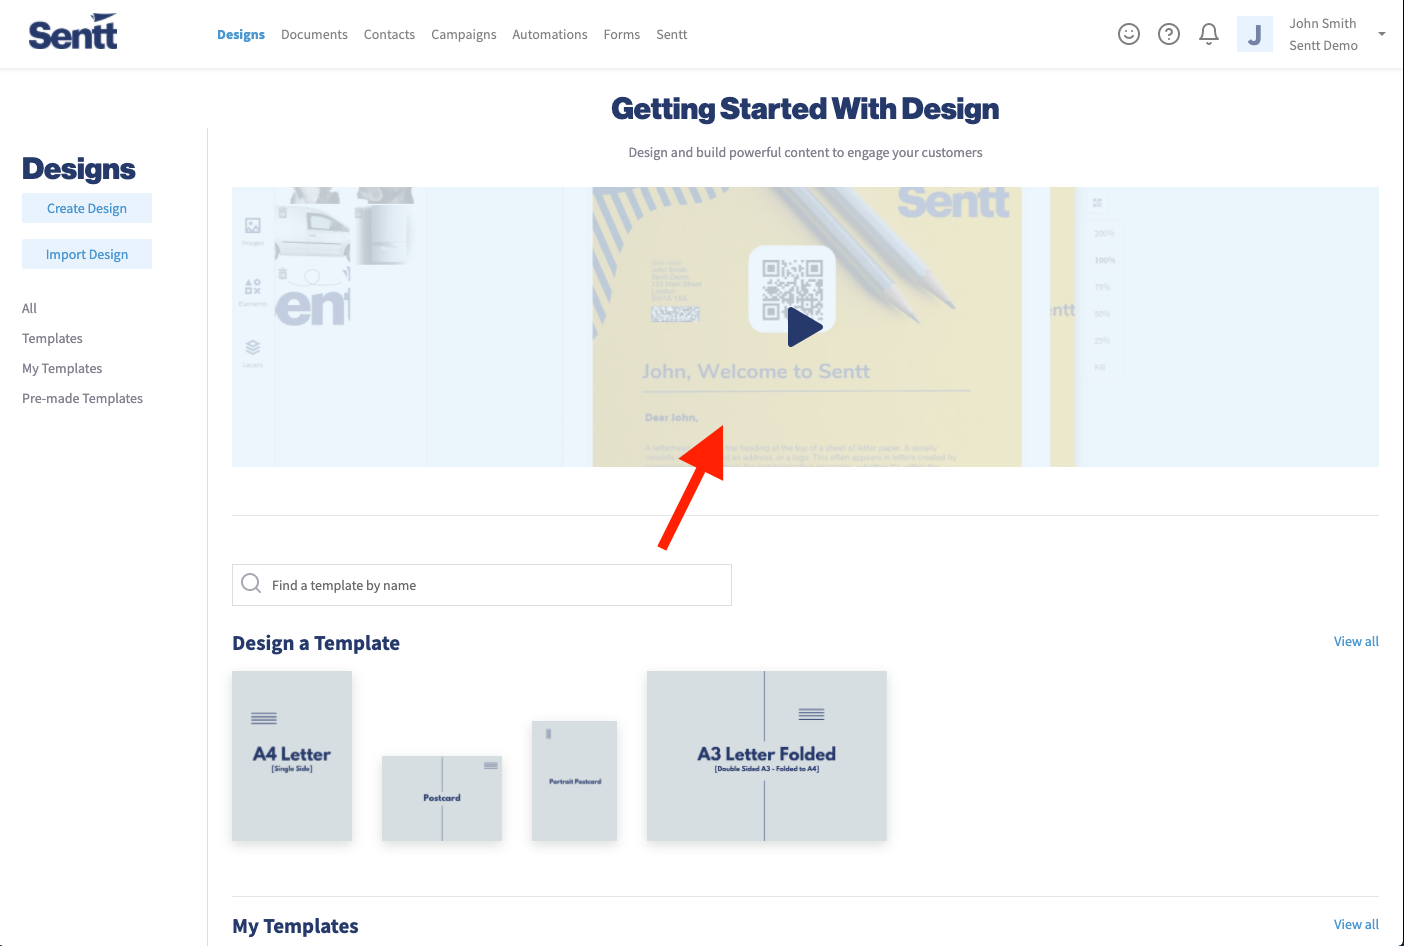
Welcome to Sentt! This quick guide should get you up and running in no time - but if you ever want more information, every section of the website has a tutorial video for it, simply click on the video banner within each section.
You can also click on the ? icon in the header at any point to chat with one of our friendly staff members who will be eager to help you in any way they can.
Design your first template
You can choose from 4 types of blank templates if you want to design your own from scratch (A4 Letter, A5 Postcard in portrait or landscape orientation, or A3 Letter Folded) or use one of our pre-made templates and edit it as you see fit.
In the designer you can:
- Add your own text, including merge fields for your business or your contact so that we provide for you in the text edit bar at the top.
- Upload your own images to use on your mail.
- Select images to use on your mail from our extensive and searchable stock image library.
- Select clip-art style elements and shapes to use on your mail from our large library.
- Add scannable QR codes onto your mail enabling your contacts to land on any website page you wish.
- Use the Canva design software to insert sophisticated page designs (please note that merge fields will not work within a Canva design).
Add your contacts to Sentt
There are a few ways in which you can add your contact list to Sentt:
Manual Contact Adding
- Go to the Contacts section in Sentt
- Click on 'Add Contacts' in the left-hand sidebar, and select 'Add a Single Contact'
- Enter the contact's details, and lookup their address using their postcode with our handy lookup tool
- Save the contact
CSV import
If you have a CSV spreadsheet as an export from a database or another service you can import that into Sentt:
- Go to the Contacts section in Sentt
- Click on 'Add Contacts' in the left-hand sidebar, and select 'Import a CSV'
- Select your CSV file and upload to the system
- Name your import source then map your CSV fields to our endpoints
- With names our system will handle either one field for a full name or two fields for a first and last name
- With addresses our system will handle either a full address in one field, or a split address across multiple fields.
- Once you have mapped your field you can preview your import at the bottom, once you are happy you can start your import.
- Depending on the number of contacts you're importing this may take some time. You will be notified of any issues with your import.
Integration
We currently integrate with Pipedrive and ServiceM8. If you have an account with one of these provides you can connect Sentt to it and import your contacts that way. The import will be automatic. Depending on the number of contacts you're importing this may take some time. You will be notified of any issues with your import.
You can access the integration section from the dropdown menu by clicking on your name at the top right-hand corner of every page.
Send your design to your contacts
Quick Send
To quickly send your new design to an individual contact, simply go to the Contacts section in Sentt, find the contact you wish to send to in the list and click on it.
This will open the contact's detail popup window where you can see all the contact's details as well as edit and add information. If the contact's address is valid then you will see the 'Quick Send' button in the top right-hand corner of the popup.
Click on the 'Quick Send' button, select 'Add Content' and find and select the template you wish to send. Once you have clicked on a template, click the green 'Save' button, and you will be shown the format and price, along with the 'Send Now' button.
Click on 'Send Now', and you will be shown the fully merged preview of the file that will be used to print and post your mail. Once you have checked the proof, click 'Send'. Your design will be printed and posted to your contact.
Campaign
To quickly send your new design to multiple contacts, simply go to the Campaigns section in Sentt and click on the 'Create Campaign' button in the left-hand sidebar.
Name your campaign, then select 'Add Contacts'. From here you can select the segment of contacts you wish to send your design to, or create a new segment. For more information on segmentation, see the video in the Contacts section of Sentt.
Select 'Add Content' and find and select the template you wish to send. Once you have clicked on a template, click the green 'Save' button, and you will be shown the format and price, along with the 'Send Sample', 'Schedule'm and 'Send Now' buttons.
If you would like to see a sample of your campaign physically then you can click the 'Send Sample' button, and you will be posted a copy to your account address.
You can also send your campaign now using the 'Send Now' or schedule your campaign send to either send on or arrive by a date using the 'Schedule' button.