ServiceM8
Once you have connected your Sentt account to your ServiceM8 account there are 2 ways in which you can use the add-on:
1. From ServiceM8 job/client cards
- Click on the Sentt button in a job card or client card (this may be nested under the title 'Addons')
- This will show you a screen with the available addresses you can send to, along with any attachments.
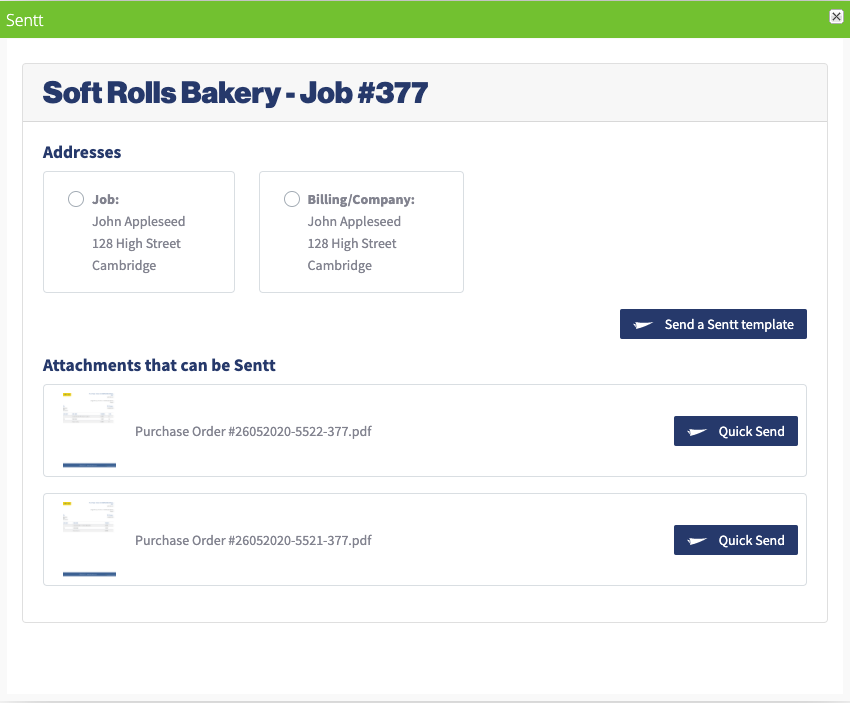
- From here you can select the address you want to send to and either Quick Send an attachment (you are able to send either pdf files or images) or select a template that you have designed in Sentt.
- If we cannot automatically validate the address you select you will be asked to manually validate it.
- On the next page you will be asked to select a cover page (which will have the address printed on it) or the template you wish to use.
- Once selected and confirmed you will be shown a merged proof of the print, along with the price it will cost to send.
2. From Sentt
- All of your ServiceM8 clients that have at least a name and address will be imported into your Sentt account and kept up to date with any changes made to them within ServiceM8
- These contacts will show in your Contacts tab on Sentt with the Source set to 'ServiceM8'
- We will calculate the client's lifetime value to your business, and import this along with past and current job details and custom field data.
- We will automatically validate every address we can, however if we cannot automatically validate them they will show as 'Address invalid' in your Sentt contact list. You can manually validate these addresses if you wish to.
- Your ServiceM8 contacts will now be available to use in Sentt Automations and Campaigns. To learn more see our Quick Start Guide.